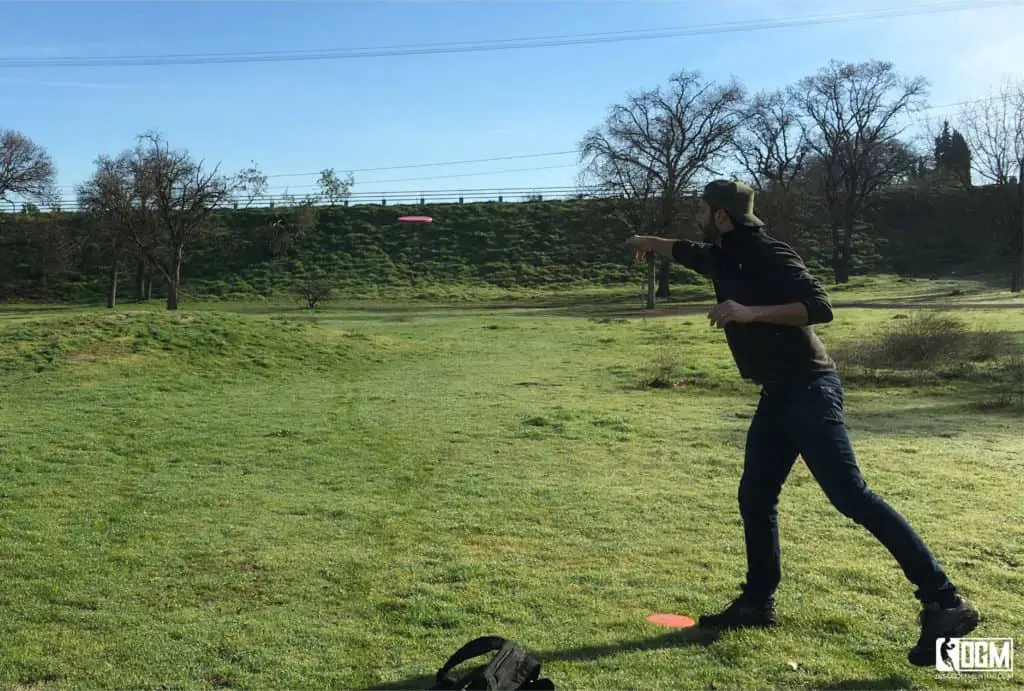
You’ve heard many experts say that putting is the most important skill in disc golf. This article is for you if you are just starting out, or if you’ve been playing a while but it seems that your practice isn’t leading to major improvement. This article isn’t about the mechanics of putting—rather it’s all about how to practice smart to make a difference.
The solution to improving your putting is to work hard at it, but more importantly: work smart. And there is one thing even more important than that: you have to truly enjoy putting. Indeed, you should enjoy every putt you face, in your backyard, and in tournaments. Try to see every putt as a fun challenge and a learning experience.
Why Putting is More Important Than Driving
Being able to drive far dazzles, so why do they say that putting is more important? Look at it this way. If my putt hits the cage and comes to rest under the basket I pay a huge price for the “pick up putt”. When I set the disc in the basket, the disc is traveling only one foot but it still adds a full stroke to my score just like my 300-foot drive.
We are penalized heavily for pick-up putts because there is no skill in making them. Being able to eliminate that pick-up putt can shave many points off your overall score.
Putting Style
There are as many ways to putt as there are disc golf courses in the world, so how you putt is very much a matter of personal style. You need to watch lots of pros putting, listen to their tips, experiment, and then finally, develop your own personal style. So all I’m going to say about mechanics is this: Don’t let anyone tell you that you absolutely must tuck your elbow this way, or point your toe that way—any style will work if you are comfortable with it.
There are very successful pros who use a “push putt”, a “spin putt”, and the hybrid “spush putt”. Watch videos on YouTube and try them all, not just for a few throws, but for at least a couple of days, and then carefully decide which style you are most interested in—initially. But be open-minded because the journey to putting greatness is a long one, and there will be many times when you may discard what you previously thought you had decided. It’s all part of a healthy learning process.
Four Putts
This may surprise you. Did you know you need to have four types of putts in your repertoire? The four types of disc golf putts are:
- Regular Putt
- Straddle Putt
- Distance Putt
- High Putt
Let’s go over the details of each:
1. Regular putt
This is your go-to putt when you are near the basket and there are no obstacles, which is about 70-80% of the time. Most players putt with their throwing shoulder closer to the basket and push off their rear foot as they throw, but many players make the straddle putt their regular putt. And then they don’t have to switch between two styles.
2. Straddle putt
when your lie is right behind a tree, you need to step out sideways to get a clear line to the basket. Players who also prefer this style as their regular putt may feel that it cuts down on the types of putts that they need to practice and learn, but unfortunately it’s harder to putt from farther away with a straddle stance because you can’t propel off the rear foot when both feet are equidistant from the basket.
Kevin Jones is a notable exception, but most players will find that while they can develop a good straddle putt up to 40 or 50 feet, it isn’t as practical farther out. Not that you will hit very many putts from 60 feet with any style, but still, you need to have some solution from that distance. Players who regularly putt with throwing shoulder forward, will need a straddle putt about 5-10% of the time, depending on the nature of the course. Wooded courses demand more straddle putts than open courses.
3. Distance putt
Speaking of distance, whether your regular putt is a straddle, or with shoulder forward, you will also face distance putts that are too far to get consistent results with your regular style. Many players adopt a “jump putt” for distance putts, and some even use it out to 120 feet. Other players use a subtle throwing motion that isn’t a full swing. You may use this putt/throw about 10-20% of the time, depending on the nature of the course.
4. High Putt
Regardless of which putting style you regularly prefer, you will sometimes end up with a lie that is a mere 18 feet from the basket, but in the middle of a bush that obstructs your regular arm swing. In that case, you need a high putt that gets above the bush because you simply can’t afford to concede a putt that close. Some players use the “turbo putt”, which is flipped from beside the head. Or a variation that flops end-over-end. Others use a two-finger, upside-down “hammer” throw. And others use what Brodie Smith calls a “scoober putt”. Again, how often you’ll need this putt depends on the course you are playing. If there is a lot of brush near the baskets, you may need this about 5% of the time.
Later I will discuss when to practice these various putts, but your main focus should obviously be on your regular putt since it comes up so much more frequently.
Your Putting Evolution
To help plan your training regimen, let’s divide the spectrum of putting experience into three stages: Stage 1, Stage 2, and Maintenance Mode.
These stages have nothing to do with how you perform in a tournament or your PDGA rating. But I believe you will agree that these classifications, loosely defined, can be very helpful in developing your practice methodology that will eventually pay you big dividends.
I will fully explain the purpose of each stage below, but briefly, Stage 1 is for beginners and even for players who have been playing for years but aren’t satisfied with their putting skill. Most players should expect to stay in Stage 1 for two to twelve months! To graduate from Stage 1 to Stage 2 you must agree to all of the following:
To Graduate from Stage 1:
- I can regularly hit seven out of ten putts from 30 feet, and I’m extremely confident at closer distances
- I really like the disc I’ve chosen as my go-to putter
- I’m settled on my regular putting grip and style, e.g. push, spin, spush, and mechanics such as balancing on my toe, while pointing my elbow to the sky, and squinting through one eye. Just kidding. I said I wouldn’t talk about mechanics, but don’t do that.
In Stage 1 you are doing lots and lots of experiments (I’ll explain below) and building confidence. In Stage 2 you will have decided on your favorite disc and your regular style, and so the focus is more on putting improvement rather than experimentation.
Stage 2 still requires lots and lots of practice. You might stay in Stage 2 for two to three years! After you complete Stage 2 you will be an excellent putter and ready for what I call Maintenance Mode. You will know when you graduate from Stage 2 to Maintenance Mode because you won’t feel the need to keep putting for long hours and you won’t see any damage to your score when you cut back your weekly practice sessions.
Now let’s describe the different training and objectives for each stage in detail.
Stage 1
You should expect to hang out in Stage 1 for two to twelve months, depending on how much you practice. There are several objectives for Stage 1 and these take time to achieve:
Stage 1 Objectives:
- to experiment with different grips, e.g. finger along the rim or tucked
- to experiment with different putting styles, e.g. push, spin, spush
- to experiment with different discs, e.g. deep dish putters vs. narrow-rim putters
- to develop your putting arm muscles
- to learn your mechanics, e.g. kicking off your back foot, and extending your hand toward the basket, if you decide that’s what you want to do
- to build confidence in your putting ability.
The last point is the most important part of this article, and frankly, should be part of any putting plan you follow. No matter how you practice, it is essential that you focus on increasing your confidence.
To summarize, Stage 1 is all about experimentation and building confidence. In a moment, I’ll devote a section to how to build confidence.
To Succeed in Stage 1:
To succeed in Stage 1 you must enjoy putting because to improve you need to throw thousands of putts. It’s best if you have a stack of putters. This next statement might be controversial but I stand by it. Only in Stage 1—it doesn’t matter if all the discs in your stack are the same mold. No joke. You can use any putters. Just putt. In Stage 1, you are experimenting. Try switching from deep dish to narrow-rim putters and you will see that after a few stacks you can make putts with either one.
If you have a stack of ten putters, you can cradle them in your free arm against your hip, or you can lay them on the ground or on a chair. It doesn’t matter. You must get thousands of repititions so it simply doesn’t matter if you are awkwardly holding a stack of discs. Just throw. And throw.
You can even wear flip-flops. It doesn’t matter. Just throw. As much as possible.
I think most players will discover for themselves in Stage 1 that they are rapidly evolving their putting plan. For example, you may start out thinking you prefer the spin putt and then later have an epiphany and switch to a spush. Or you may learn how to slowly draw the disc back to your belly like Paul McBeth. Or you may learn how to keep your putts nose-down. As long as you keep throwing, you will keep learning.
From time to time, you may get bored or you may hit a plateau where you don’t feel that your skills are improving. My only suggestion for those times is to use the opportunity to do more experiments. If regular putting is boring, why not use the time to try a different grip. You have nothing to lose.
Building Confidence in Stage 1
Before we get to Stage 2 we must achieve high confidence, and to do that, we must follow some rules that may seem a bit rigid. Here are my suggested rules for Stage 1 practice sessions:
Suggested Rules for Stage 1 Practice
1. 10 In a Row
Find the distance where you can make ten in a row. No cheating. This might be only ten or twelve feet if you are just beginning. That’s OK, it’s just your “starting distance.” Every session, throw your first stack from your starting distance to get in the groove. But here’s the shocking part. Never go more than two or three steps farther back than your starting distance. Never practice long putts. They are a waste of time (because it takes more time to walk farther and more time to pick up the misses).
Additionally, the misses will hurt your confidence. You need to see all of your putts going in—not missing. In fact, don’t even think about missing. The way you are going to do that is to focus on your starting distance plus no more than eight feet beyond your starting distance. Eventually your starting distance will increase. Be patient. And in Stage 2 you will see that the foundation you built in Stage 1 will automatically help you sink long putts.
2. No Straddle Putts or High Putts
In addition to avoiding distance putts in Stage 1, you also do not want to spend any time practicing straddle putts (unless you decide that will be your regular putt also) or high putts. There will be plenty of time in Stage 2 to practice those. What you need first is to build a baseline with your arm swing, and to build confidence. Those other putting styles are not going to build as much confidence as your regular putt because, by definition, if those are better than your regular putt, then you should change your regular putt.
3. No Games
In Stage 1, you should not play any putting games because they will slow you down and put pressure on you to make a single putt to increase your all-time score. And what happens if you miss that one putt at the end of your session? You’ll remember it all night and it will hurt your confidence. You should forget about pressure putts and forget about misses. You should only putt stacks and stacks. Just keep going. Even in flip-flops. (Well, not during the winter.)
4. Don’t Criticize Yourself
In Stage 1, it’s OK to talk to yourself about mechanics while you are putting, but never criticize yourself. When you miss, just say Hmm, I see what I did differently that time. Don’t say, You idiot! When you graduate from Stage 1, you won’t need to keep reminding yourself about your putting mechanics because it will come naturally.
5. Keep Your Focus on the Target
For every putt, focus on the target. Try to eliminate all other distractions from your mind. Even if there is a barking dog or a howling wind, just think about the pole or the chain you want to hit.
6. When You Miss 3 in a Row:
Anytime you miss three in a row, you aren’t helping your confidence. So you must immediately do one of two things before your next throw. Either take a deep breath and close your eyes for a couple of seconds, or take a big step closer to the basket. Maybe you have wandered too far from your starting distance? You need to see putts going in, not missing. Get back on track immediately.
7. Measure Your Performance
This is a big rule. To build confidence you don’t need to measure your performance in Stage 1. In fact, measuring your performance may hurt your confidence. Keeping statistics will inevitably force you to push the limit and then you will be missing putts. Just focus on making putts. You don’t need to keep a log because you don’t want to criticize yourself. If you are happy with your performance, that’s great, maybe you can increase your starting distance a little bit.
8. Don’t Video Yourself
You should not video yourself in Stage 1. Why not? Because it slows you down! Just putt. You can and should make videos in Stage 2.
9. Don’t Worry About a Pre-Putt Routine
Do not worry about a pre-putt routine, or habit. It will slow you down. Just fire your putts over and over. You will develop a routine in Stage 2.
Stage 2
Congratulations! After months of practicing in Stage 1 you’ve graduated to Stage 2, according to the stipulations given above. Now you’re ready to make several changes to your practice plan:
Changes to you practice plan
- You should decide on your favorite mold. Try to buy at least ten of those discs and use only those.
- Putting games are OK and keeping statistics of yourself is OK, but only if you don’t let these impair your confidence at your distance where you make 80% of your putts.
- It’s time to develop your pre-putt routine that you will rely on in tournaments. How you do it is up to you, but here’s a tip: Focus on the target. You shouldn’t need to remind yourself to point your toes. Just concentrate on the target and throw it.
- Now it will be helpful to study videos of yourself putting to see if you notice any regular mistakes.
- Now you are ready to practice straddle and high putts, and increase your distance some, but you should rarely practice from beyond 45 feet because that takes a lot more time. Try to spend entire sessions developing your straddle putt, as if you are back in Stage 1 with it. Then decide if you want to use it as your regular putt. If not, mix in some straddle putts in every practice session. And spend a little time as well experimenting with and working on your high putts.
- Try putting from all wind directions. If your backyard is shielded from wind, you might consider taking your basket to an open field on some windy days.
Stage 2 Goals:
In Stage 2, you still need to practice long hours. As you near a tournament, eliminate experimentation. Pre-tournament, it’s best to focus on making all of your putts with your routine, even if that means putting from only 18-24 feet.
After a few years, you can move from Stage 2 to Maintenance Mode. You’ll know when you’re ready because you will find that you have reached great success and you are very set in your routine.
Maintenance Mode
- Maintenance Mode goes on forever. You don’t necessarily need to practice as much as you used to because you already have high confidence and have established yourself as a great putter. You may still experiment during the off-season, for example, with new discs, or with a different style of wrist-flick for your turbo putt, or with an emphasis on meditation or breathing as part of your pre-putt routine. It’s up to you. When you get to this point, you are way beyond this article.
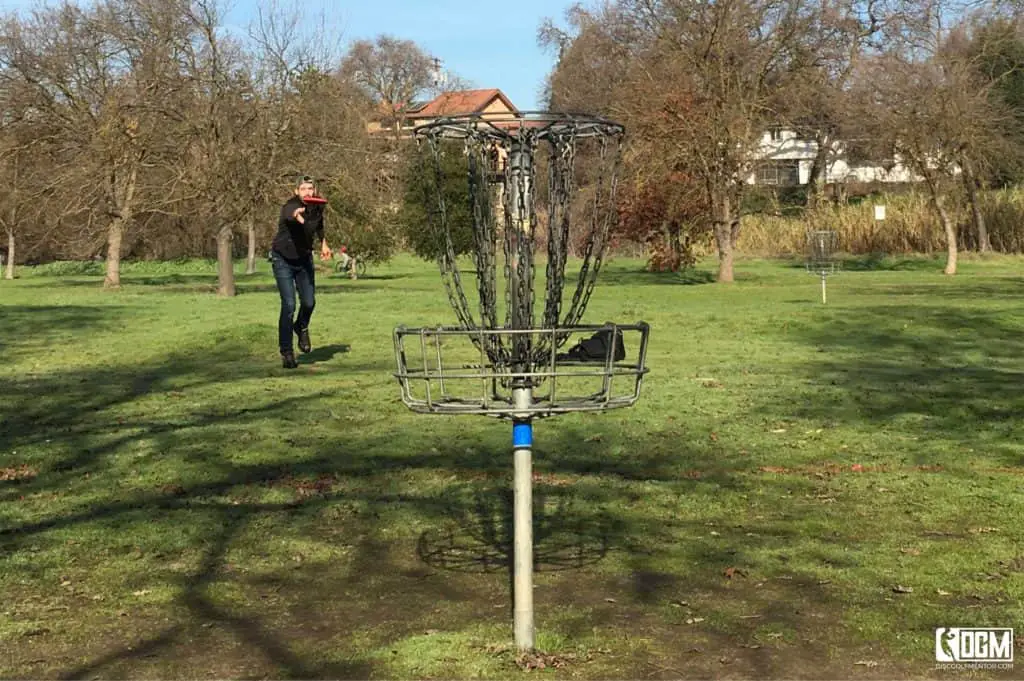
Putting Games
In addition to the disc golf putting apps you can install on your phone, here are a couple of putting games. There are dozens of variations of these games, so feel free to customize them as you wish. Rememeber, it’s best to stay away from putting games in Stage 1.
I call the first one Timed Cycle because the objective is to complete the full cycle in the lowest time. You must succeed at each station before moving out to the next station. There is no penalty for failing with a stack, it just means you need to stay at that station.
Timed Cycle:
- Putt from 15 feet until you make 10 in a row.
- From 20 feet, make 9 out of 10.
- From 25 feet, make 8 out of 10.
- From 30 feet, make 7 out of 10.
- From 35 feet, make 6 out of 10.
- From 40 feet, make 5 out of 10. Step 6 is optional until you are comfortable from that distance. Once you finish Step 5 (or 6), stop the clock and keep track of your best time.
I call this next game Stay Alive because each putt you make is like an oxygen pack that allows you to move to the next station.
Stay Alive:
You start out with a stack of discs (say five or ten) at say, fifteen feet. After you throw all the putts from that station, you only get to carry the discs that are in the basket to the next station. Each station is five feet farther back. Leave the missed putts on the ground. The objective is to get as far back as you can when all your discs are on the ground (you’re out of oxygen).
Conclusion
The most important tip to becoming a great putter is to focus on building your confidence. And the main way you do that is to make all your practice putts. And the number one technique to help you achieve that is to putt at short distances.
Enjoy putting!
About the Author
Scott Zimmerman was the 1982 World Frisbee Golf Champion, multiple-time World Overall Frisbee Champion, and threw an Aerobie across Niagara Falls and set four distance world records. His book “Chasing Disc Golf and the Overall Title” is available now with extremely favorable reviews at amazon.com. See chasingdiscgolf.weebly.com/