We all know how crucial practice is to improving your Disc Golf game, and a good practice involves focusing on all aspects of your game. If regularly visiting a Disc Golf course to practice is difficult for you, you may have to practice at home.
If you have a big enough backyard you may see no need to spend money on gas driving all the way to your Disc Golf course every time you want to practice, anyway.
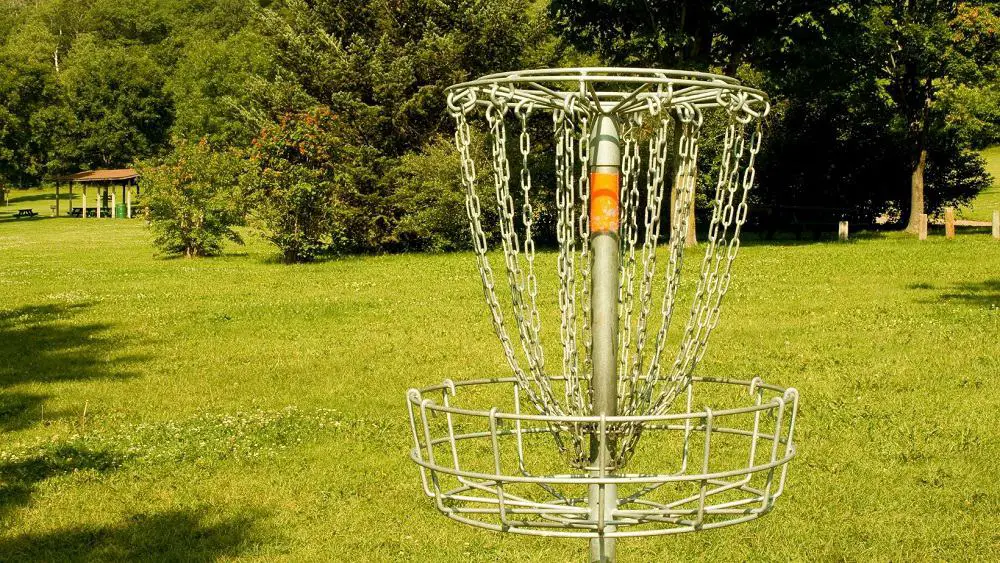
We imagine that most of you have a Disc Golf practice basket that you use to work on your putting, and some of you may have had some complaints from your roommates, family members, or even neighbors regarding the noise.
The clang of the metal chains when you putt a disc, or the resounding ring of the pole when a disc comes into contact with it can be pretty loud and irritating for those who have to hear it over and over again.
But is there a way you can make your putting practice quieter? We’re happy to tell you that, yes! There is!
How To Make Your Disc Golf Basket Quieter
A lot of Disc Golf players have gotten creative in order to make their Disc Golf baskets quieter. Here are some great ideas to help make your disc golf basket quieter:
- You can wrap the metal pole of your basket with material like insulating foam or a pool noodle to soften the clang of the metal rings that hold the chains together. You can find insulating foam at your local Home Depot or Lowe’s store in the plumbing section.
- If you can’t find insulating foam that will work for your basket, try filling the center pipe of your basket with silicone caulking or foam spray. (I would go for foam spray which is meant to expand to fill hollow spaces). Filling this hollow space will also help keep the decibels down.
- To make the chains themselves quieter, you can spray the chains with a rubberized coating like Plasti Dip or Rust-Oleum Leak Seal. This will form a soft surface over the metal of the chains which will soften the clanginess of the chains when your disc runs into them.
These are all simple, creative solutions to this problem, but it is possible to practice without a basket altogether if you don’t want to modify your basket or if you simply don’t have a basket at all. So if DIY is your thing you can go even further and make a DIY Disc Golf basket in a few surprisingly easy steps.
Practicing Disc Golf At Home Without A Basket
While some would say the optimal conditions for practicing Disc Golf would be outdoors and with the necessary equipment (and we wouldn’t argue with them), if practicing your putting inside without a basket is your only option then you can certainly make it work for you.
You don’t need acres of land to be able to practice your putting, as when you play the game you’ll be putting in an area under 10 meters.
Again, it’s all about being creative. You can create makeshift targets with duct tape or masking tape to mark where a bucket would be standing. You can even substitute a basket for a small trash can to recreate the baskets you would find on a Disc Golf course.
If you can practice outside, you can also use objects such as fence posts and telephone posts to work on your accuracy.
When practicing, try to avoid using your best Disc Golf putters. It’s all about minimizing damage to your discs, which is important considering cracked discs are forbidden in tournaments.
We recommend buying a few Disc Golf putters that are for practice only. You don’t have to worry about damaging them, and these don’t have to be expensive. After all, you don’t want to spend a fortune on discs that you’re anticipating will sustain a few cuts and scrapes!
Don’t Have A Practice Basket? Here’s An Easy DIY Solution
Materials
- Wood round (or other base). You can also use an umbrella base, or any base that is sturdy enough to support the basket.
- Disc Golf pole with holes at the top and bottom.
- x2 1-inch floor flange.
- x4 large screws.
- 1 inch x 60 inch steel pole (drills used in professional competitions are usually 66 inches). A PVC pole is also an option but this will need to be two inches thick.
- Garbage can lid. This needs to be 26 inches in diameter, in order to be big enough to catch the discs. You can also use sleds which are sturdier.
- x2 clamps.
- Bike wheel with spokes.
- Zipties.
- 40 ft chain (outer).
- 20 ft chain (inner).
- x30 S Hooks.
- Electrical tape.
Tools
- Drill. If you don’t have a drill you can do this manually, but the job is more difficult without one.
- Drillbit
- Scissors
- Tape measure
- Wrench
- Chain cutter. If you don’t have a chain cutter, stores like Lowe’s and Home Depot have machines you can use to cut the chain in-store. However, this is quite a time consuming process.
First, drill through the floor flange with the 4 large screws, making sure the screws are nice and secure, and not going anywhere! Then thread the pole into the floor flange.
Now you can move onto the basket itself and the garbage can lid.
This will act as the basket to catch the discs. It’s worth noting that most stores will not sell garbage can lids separately, so you’ll probably have to buy a garbage can along with it.
But if you’re in need of a new trash can anyway, you can kill two birds with one stone!
Drill some holes in the center of the garbage can lid and thread the hole through the slits. You can also drill extra holes in the garbage can lid to act as drainage for when it rains.
To ensure your makeshift baskets stay attached to the pole, you’ll need to keep them in place with clamps. You can buy these clamps in the plumbing section of most hardware stores.
You need to then secure the 2 clamps as tight as possible to the pole, making sure they are flush together.
Bike tires are the best item to hang the chains from. You can even spray paint the bike tire to make it blend in with the color of the pole and give your DIY basket a more professional look.
Next fit the bike tire on top of the pole. You can keep the bike tire secure on top of the pole by placing the other floor flange on top of the pole and placing the bike tire on top of it.
Secure the floor flange and bike tire with zipties and weave the ziptire through the holes in the spokes.
You’ll need 18 outer chains at 2 ft each which should give you 36 ft of chains. We recommend buying a different color chain for the outer chains to again give it a more professional look.
Finally, use S hooks to connect the chain to the bike spokes, and electrical tape to keep the S hooks in place.
