Disc golfers love to play and practice anywhere and everywhere. Sometimes your local course is simply too far away to make it practical for everyday play, but that does not have to stop those who love the game.
A do-it-yourself disc golf basket in your back yard could keep you practicing and perfecting your throws from every angle, getting you ready to wow your local league with your impressive skills.
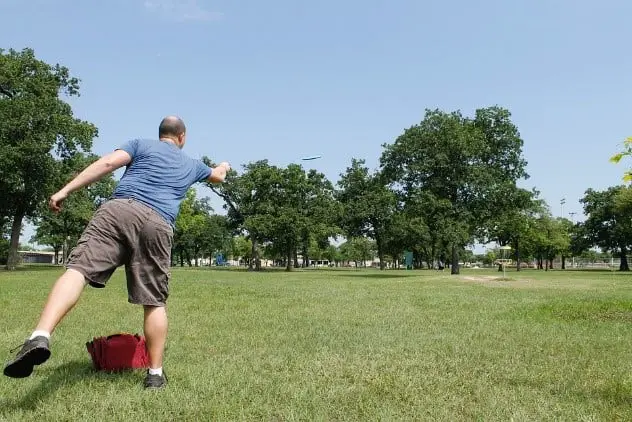
There are various creative ways to toss your discs to objects you already own: in a pinch, people use everything from buckets to cardboard boxes to lawn chairs. But by building a true disc golf basket, one that replicates those found on a disc golf course, you will enhance your skills even more and get in better practice time to outshine your competitors.
As a bonus, building the disc golf basket with your kids or other family members could be a great way to introduce them to the game and get them invested in playing as well!
We will walk you through everything you need to know to make your own disc golf basket for your backyard.
The DIY Disc Golf Basket: Gather Your Supplies
While you do not have to be a master handyman/handywoman to make a disc golf basket, you need to know your way around a toolbox and be somewhat competent when it comes to hardware.
If you think you will be out of your depth, now would be a good time to seek out assistance from a friend or family member who perhaps spends a little more time at the garage workbench than you do!
These are the supplies you will need to gather and/or purchase to construct your disc golf basket:
- Steel posts
- Plywood
- Chain coil
- Metal barrels (number determined by the number of baskets you are making)
- Trash can lids (same as above)
- 12 zinc plated eye bolts
- 18 drywall screws and washers (1-inch)
- 8 sets of 10/24 bolt/washer/nut (2-inch)
- 12 nylon locking nuts
- 12 T-nuts
- 36 self-tapping metal screws
- 4 hose clamps
- 6 corner brackets (these can be 4-inch or 6-inch)
- 2 rubber air hoses (15 3/8-inch)
- 2 closet flanges
- 2 flange extension rings
- 2 PVC coupling
- 36 zinc plated quick links (3/16-inch)
Once you have gathered these materials and have a good workspace with plenty of room, you are ready to build your disc golf basket.
The DIY Disc Golf Basket: Building Instructions
Step 1: Using a circular saw with a metal blade, cut the top and bottom off the steel barrels at about eight inches deep. Once you have cut them, you can smooth the edges using a metal file.
Step 2: The top of your disc golf basket (either a trash can lid or a portion of the steel barrel) can be reinforced with plywood. Drill six holes in the lid for the bolts in a circular shape. Add your T-nuts and then screw in the eye bolts. The nylon locking nuts and washers will be used to secure them.
Step 3: Next, you will add your chains, attaching the inner chains and the outer ones. You will want to space your outer chains about five inches apart in this step.
Then to attach the outer chain, you will drill holes around the trash can lid, five inches apart. You will attach the quick links (leaving them open) and then the chain, but after you attach the basket to the post in the next step.
Step 4: To attach your disc golf basket securely to its post, you will take your PVC coupling and slide it down until it is approximately four inches from where the basket’s base should be sitting. Next, you will slide the closet flange down to the PVC coupling, and then you will screw that down. The base of the basket should then be screwed to the flange.
Step 5: Take two L-brackets and attach those to the top of the steel pole. Then you will take your lid and screw it onto the L-brackets.
Step 6: Now, you will cut your chains and attach them to the top of your lid. You are going to use the outer clips as well as the inner bolts to get them attached. The bottom part of your chains will attach to a hose clamp.
Step 7: When this assembly is complete, you will need to install the disc golf basket and pole into the ground. This will require post-hole diggers and concrete. An alternative would be to place the pole into a table umbrella base.
Tips for Building a Disc Golf Course at Home
Not everyone has a large enough yard for a full course; you may be building a DIY disc golf basket just for practice throws at home. But if you do have a big piece of property and a successful first attempt at a DIY basket, you can keep building even more disc golf baskets for a 9 or even 18-hole course right in your own yard.
Before you get started, we have some tips to consider:
- Try to space out the holes as evenly as possible in your yard. Take numerous measurements before you begin and use “place holders” to map out the locations of the baskets (this could be buckets, lawn chairs, or anything you have on hand to mark the spots).
- Think about any obstacles you may want to avoid on your property, such as a sprinkler system, and mark it off accordingly. Perhaps keep a safe distance from a neighbor’s fence line to ensure you are not frequently knocking on their door because your discs have landed in their yard!
- Walk out the course a few times at different times of day before cementing the poles (you may want to change up some hole locations based on sunlight, for example).
