After hours of recreational games and even tournament play, it’s understandable that some Disc Golfers become attached to their discs and want to give them a new lease of life every now and then – especially when their discs have sustained the usual bumps and scrapes expected from competition.
So as well as giving your disc a facelift to remove scratches and cuts, why not give them a colorful makeover too?
Indeed, plenty of Disc Golf players will tell you how important it is to have a bold disc that stands out from the ground so you can easily locate it on the course.
Dyeing discs is pretty popular in the Disc Golf community, and just like the game of Disc Golf itself, practice and trial and error is all part of dyeing your discs. You’ll go through plenty of patchy discs – and a lot of stained clothes – before you master the art of disc dyeing.
But what methods are the best for dyeing discs?
And how do you even get started? We answer both of these questions below.
The Process
A big part of the disc dyeing process is organization. If you’re well-organized you’re sure to see excellent results, and the less messy you are, the more your clothes and countertops will be saved from stains!
Before you begin, know exactly what design you want and have your design setup ready to go.
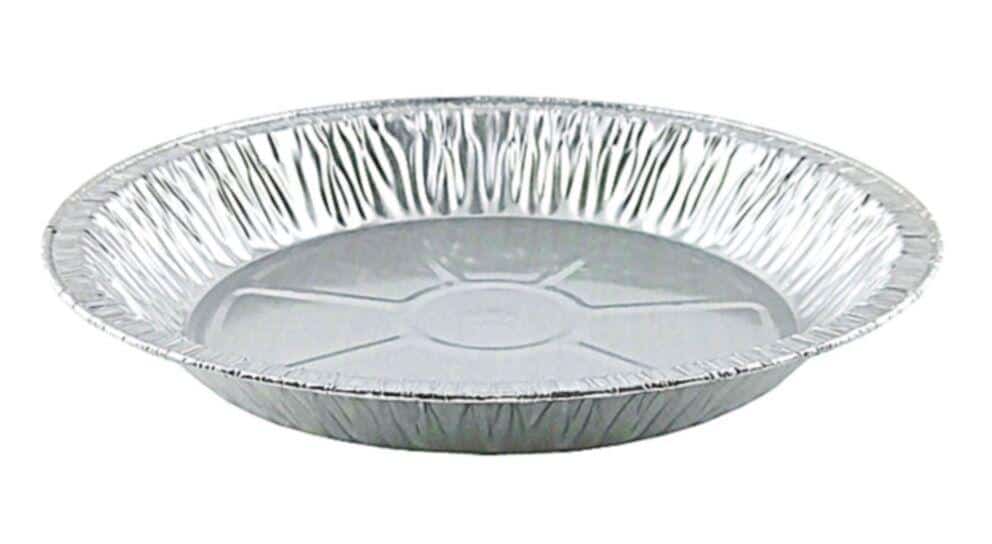
An ideal set up would be pie tins under the disc to catch all the die that spills off the edges. This helps to keep your countertops clean. Always have bottles of clean water and extra towels ready to quickly mop up any spills, as well as a knife or a pair of scissors to hand.
The Methods
There are plenty of methods out there for dyeing your discs that it can be hard to choose between them. But what method you choose all depends on what design you would like and how you want your disc to look.
Below we’ll take a look at some of the most popular methods for dyeing discs.
Adhesive Vinyl Decal/Stencil Dye: An incredibly popular method, this method lets you really put your own stamp on your disc with personalized designs and images.
Cloth Design: A simple method that involves soaking a cloth or other material then leaving it on the disc to create a pattern.
Hot Glue Design: This is a rudimentary design method admittedly, but with practice you can achieve neater designs.
Shaving Cream Dye: Shaving cream holds the dye in place, giving it time to really seep into the plastic. People like this method because of the unique patterns and blend of different colors you can achieve.
Spin Dye: For elegant designs you can’t go wrong with the spin dye method. However, you’ll need a steady hand as well as spinning equipment.
Splatter/Drip Design: Arguably one of the simplest and most fun methods, this method simply involves squirting or dripping dye on a disc.
The Prep
This may seem like common sense, but always clean your disc before you dye it. Any dirt or grease will affect the end result and leave your disc with imperfections.
Dye usually doesn’t stick to the stamp on your disc, and you can remove this if you like. There are a couple of ways you can remove the stamp.
Acetone: Using pure acetone is a quick way to remove the stamp, but you need to be careful because leaving the acetone on for too long will burn the plastic. Acetone is found in nail polish remover, but nail polish remover doesn’t work straight away and may leave your disc with a funny smell.
Brake cleaner: This is stronger than rubbing alcohol (more on that below) and is excellent at removing dirt, grease, and any sticky substances. You can also leave it on for longer than acetone.
Rubbing alcohol: Also known as isopropyl alcohol, this is one of the safest ways to remove the stamp from your disc as it won’t corrode the plastic but it’s probably the least effective method of stamp removal.
Make sure you rinse off all the chemicals once you’re done so the dye job isn’t affected. Also remember to use cotton balls and make sure not to scrape or scrub too hard on plastics.
Again, this may seem like common sense but it’s easy to forget how hard you’re scrubbing and before you know it you’re left with scratch marks. Always be mindful of how rough you’re being with soft, gummy plastics in particular.
Let’s Get to It!
Okay, now you’ve decided your method, set up your workspace, and cleaned your discs, let’s get onto dyeing them!
Always wear gloves (we recommend latex) and make sure your work surface is completely covered. If you don’t have a big enough work surface inside, you can always work outside. There are a few different ways you can apply the dye. These include:
Bucket: Submerging your disc in a bucket is a good way to completely transform the color of your disc.
Paintbrush: If you want to be precise, applying dye with a paintbrush is a good place to start. However, it can leave brush strokes (although this can look very stylish) and isn’t the most elegant application.
Soaked fabric: This is harder work than other applications, but it stops bleeding and is a good choice of application for neater designs.
Squirt bottle: This is useful for a quick stencil dye and you can achieve cool splatter patterns with this application. But it’s a messy process.
It’s recommended to leave the dye on the disc for a few hours. If you have issues with bleeding then you soak a cloth in a 3:1 solution of acetone and water and press the cloth onto the disc lightly. This lets the dye soak in and reduces bleeding.
However, this is a messy job, and you’ll probably need to throw the cloth away once you’re finished.
Taking Care of Your Dyed Discs (Cleaning)
Cleaning your disc is simple, but just make sure you’ve left the dye on for long enough first.
First, rinse your disc in cold water for a few minutes. Then, remove all vinyl, fabric, or hot glue and rinse again. Gently scrub the disc under running water. Let your discs air dry for 15 minutes then wash with dish soap to ensure no dye will rub off later.
