We all know practice is key when it comes to improving your Disc Golf game but what if you don’t have a disc golf course near you? What if the weather is bad and you can only practice indoors?
Well, one way to practice at home is to simply pick a target in your yard or somewhere outside, take aim, and try to throw as close to that target as possible. Keep doing this until you’ve worked out your kinks and your throws are as accurate as possible. If the weather is bad, practicing form indoors (without a disc) is a great way to improve your form which will help you once you finally make it back out onto the course.
Although it may seem difficult, practicing Disc Golf at home isn’t too hard. When it comes to practicing, accuracy definitely trumps distance. After all, distance can be achieved once you’ve got your form and accuracy down pat.
Let’s take a look at some ways you can practice Disc Golf at home as well as some drills to try out.
Practicing Disc Golf At Home
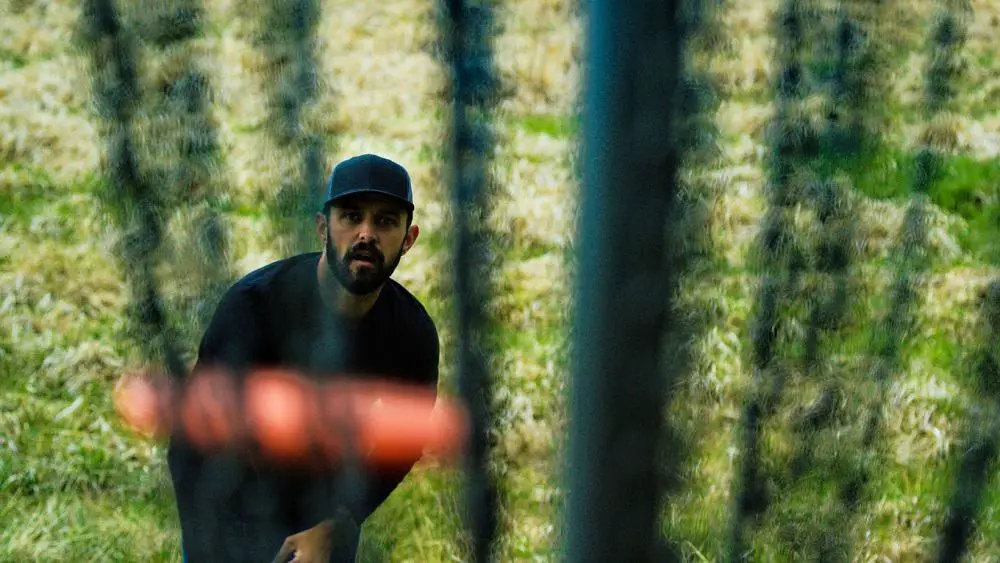
Practicing Disc Golf at home requires a little creativity and some DIY magic.
For example, you can take an old basketball hoop, hang a chain around it and try tossing your practice putters inside the rim. You can do this inside or outside the house.
Before you make your first toss mark off as many feet as you can from the room. You can even move the hoop around so you can practice your aim from a couple different angles. Putting down a hallway is a great way to practice tunnel putts.
You can also practice at home using a trash can or 55-gallon drum using the same setup as you would with the basketball hoop.
Ideally the basket you’re practicing with should be portable so you can practice putting from different, challenging angles. It’s also important not to make your target too large.
Practice Drills
Your putting game can be improved by incorporating some putting drills into your practice. Drills help you to establish form, memorize technique, and improve your accuracy.
Let’s take a look at some putting drills that can improve your Disc Golf putting form.
Overload Drill: Start about 5 to 10 feet away from the target and do two putts.
If you make both, take another step back and try again. If you miss, take a step forward until you make both.
Five’s Drill: This is similar to the drill above, but you’re doing 5 at a time instead of two. Again, if you make them all then you can take a step back. If you don’t make them you can move forward. Repeat this until you’re accurate from a longer distance.
50-50 Drill: This drill involves you starting from about 5-10 feet away from the basket and doing two putts at a time. If you miss, don’t move until you sink both putts. Once you’ve achieved this, take a step back and start over.
The Line Drill: This drill starts the same way as the previous drills but you’re only doing one putt at a time. If you miss you can take a step forward, but if you make it you’ll need to take a step back.
Around The World Drill: If you’re looking to practice putting at different angles, this is the drill for you. You only make one putt attempt per spot, and when you make the putt you need to take a step to the side and then a step back. Stay put if you miss and don’t move until you make your shot.
Push Your Luck Drill: Again, this drill involves you standing about 5-10 feet away from the basket. If you make the putt you take a step back, and if you miss you need to go back to your original position and try again.
Horse Drill: This works pretty much like a game of HORSE in basketball. You’ll need a friend with you to do this drill and you just take turns making putts. Whoever goes first will pick a spot and make their putt, and the second player has to replicate it. The loser is the person who misses enough shots to spell out the word ‘horse.’
Obstacle Drill: This drill involves placing obstacles in the way of the target. You can use any obstacles you like – just don’t make them too easy to navigate around! You make two putts in this drill, and if only one goes in you have to move the basket one step away from the obstacle. If you miss both shots nothing changes.
Towel Drill: You may already be aware of this drill, as it’s quite a common drill in the world of Disc Golf. It’s an easy drill to master and is an excellent warm-up drill ahead of a game to get your arm ready for competition.
This drill helps to improve speed and power by using your Disc Golf technique. But when practicing indoors you’ll be gripping a towel instead of your disc.
To effectively perform this drill at home, you just grip the towel and hold it in front of you. You then bring the towel back, employing your usual throwing technique.
Then you launch your throw.
If the towel makes a ‘whooshing’ noise that means you did not perform the drill correctly. However, if you hear a whip or a snap, then the drill has been performed successfully. Easy!
A great tool to help with the “Towel Drill” is a disc golf flight towel. They come attached to the rim of an actual disc wich is a great alternative to using an actual towel. Here’s the link to amazon if you’re interested.

It’s important to note that these drills can be modified to suit your surroundings. The starting distance can be changed, as well as where you place the target. You can even change the number of putts if you want.
As long as these drills help you to practice effectively and are challenging enough to really improve your skills, then you can change them up as much as you want.
Whenever you’re practicing, always make sure to correct any mistakes you make in your grip, form, and technique so you can really see improvement.
Final Thoughts
While you may notice the absence of Disc Golf courses in your area and be disheartened, try not to be.
You can still practice the sport and improve your game from the comfort of your home, as long as you take the necessary steps and tailor the drills to your surroundings.
Try not to worry too much about distance either. The main focus of your practice should be technique, accuracy, aim and form.